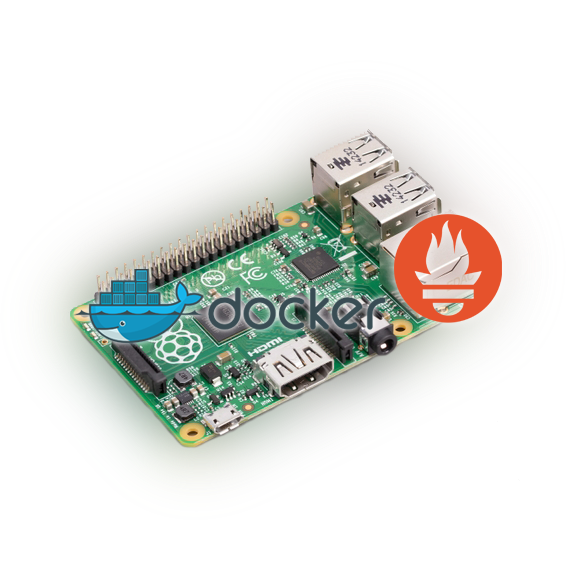
Armv6 node-exporter on Raspberry Pi 1B+
After sending a good few hours trying to get Prometheus node-exporter to work on a Raspberry Pi 1B+ I found that it didn’t actually support armv6. I spent some time hunting around and found this image by ndanyluk. However, documentation on it is very scarce so I thought I’d jot down how I managed to get it to work in the hope it might help someone else.
Using the prom/node-exporter on armv7 onwards (Raspberry Pi 2 upwards)
The command I had been using to run node-exporter normally looks something a bit like this:
1
2
sudo docker run --net="host" --pid="host" -v "/:/host:ro,rslave" \
  --name="node-exporter" prom/node-exporter:latest --path.rootfs=/host.
Let’s break it down the node-exporter command
The usual sudo docker run calls the docker command with superuser privileges and tells it we want to run a new container.
--net="host" --pid="host" instructs the new container to use the host’s already existing network stack. This improves the performance as NAT (Network Address Translation) is not required. However, this does mean we need to manage our ports carefully as this can lead to conflicts. I don’t have a service already running on the required port (9100) so I don’t have to worry about this. And the also allows the container to access the process tree on the host. Which in this case allows the container to scrape data from the host.
This next argument is a little complicated. -v "/:/host:ro,rslave". It starts off well, -v "/:/host adds the root of the host to the container as a volume mounted in the /host directory. Now we get the bit that we usually leave off. :ro, mounts the drive as a read-only partition (probably a good thing for a monitoring tool). And the final part dictates that the mount can only be used in one direction.
The rest of the command is pretty straightforward with the --name argument setting the name of the container. And the final part is the image we want to use. In this case, it’s the ndanyluk version of node-exporter. The very final argument tells the container that it should create the binary from the host’s root file system.
How is armv6 different to other arm command?
So now how do we get node-exporter running on the armv6 platform of a Raspberry Pi 1B+? As there is no documentation for the ndanyluk’s version of the node exporter it took me a little while to work out how to get it going. I eventually stumbled across the answer in his GitHub repository for the project. One of the files in the repo is a test script that automatically spins up a container from the image that is built to allow for testing. And in this script, there is a subtle difference in the command being called. Here it is below, see if you can spot the difference.
1
2
3
4
5
sudo docker run --net="host" --pid="host" \
 -v "/:/host:ro,rslave" \
 -v "/etc/hostname:/etc/nodename" \
 --name="node-exporter" ndanyluk/ \
 node-exporter-armv6:latest --path.rootfs=/host
You got it. The subtle difference is that we have to mount the hostname file into the container as the nodename file. Now when we run the container it loads up without any errors and provides the data we need to export to a system like Prometheus so we can make some super sexy dashboards of all of those stats we all love.
So this is how I got node-exporter running on the armv6 platform. I hope that someone finds this useful and that it saves them a little time.
Prometheus logo by Alexander Schwartz (ahus1)[1][2] – https://github.com/prometheus/docs/raw/ca2961b495c3e2a1e4586899c26de692fa5a28e7/static/prometheus_logo_orange_circle.svg,
Apache License 2.0, https://commons.wikimedia.org/w/index.php?curid=85744651